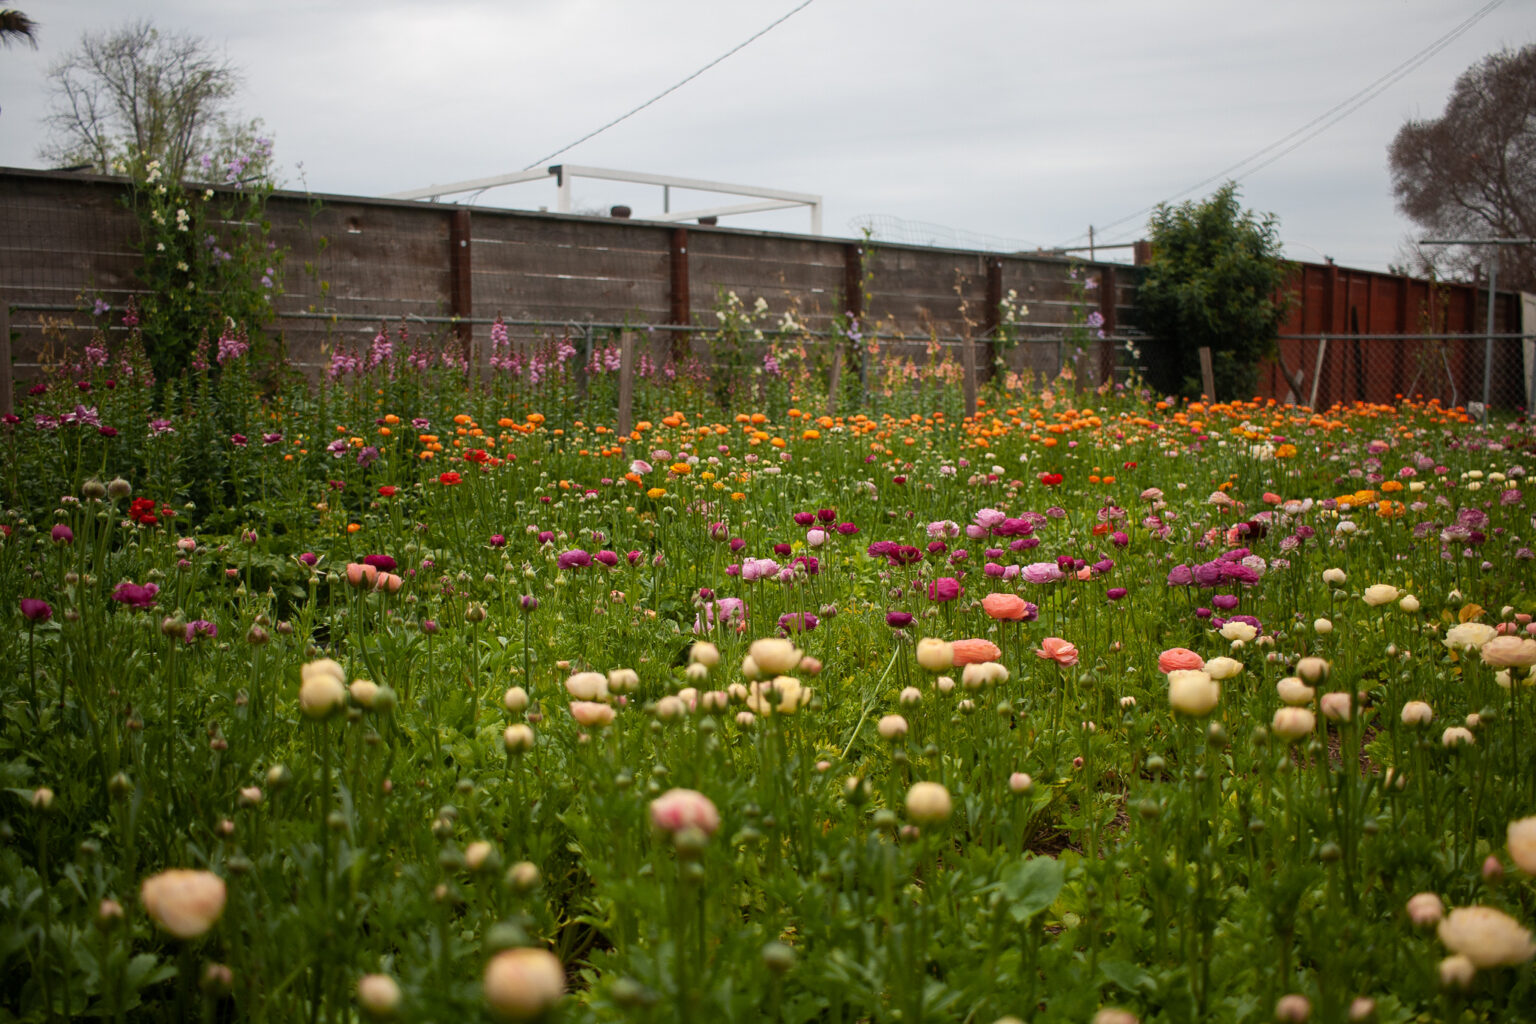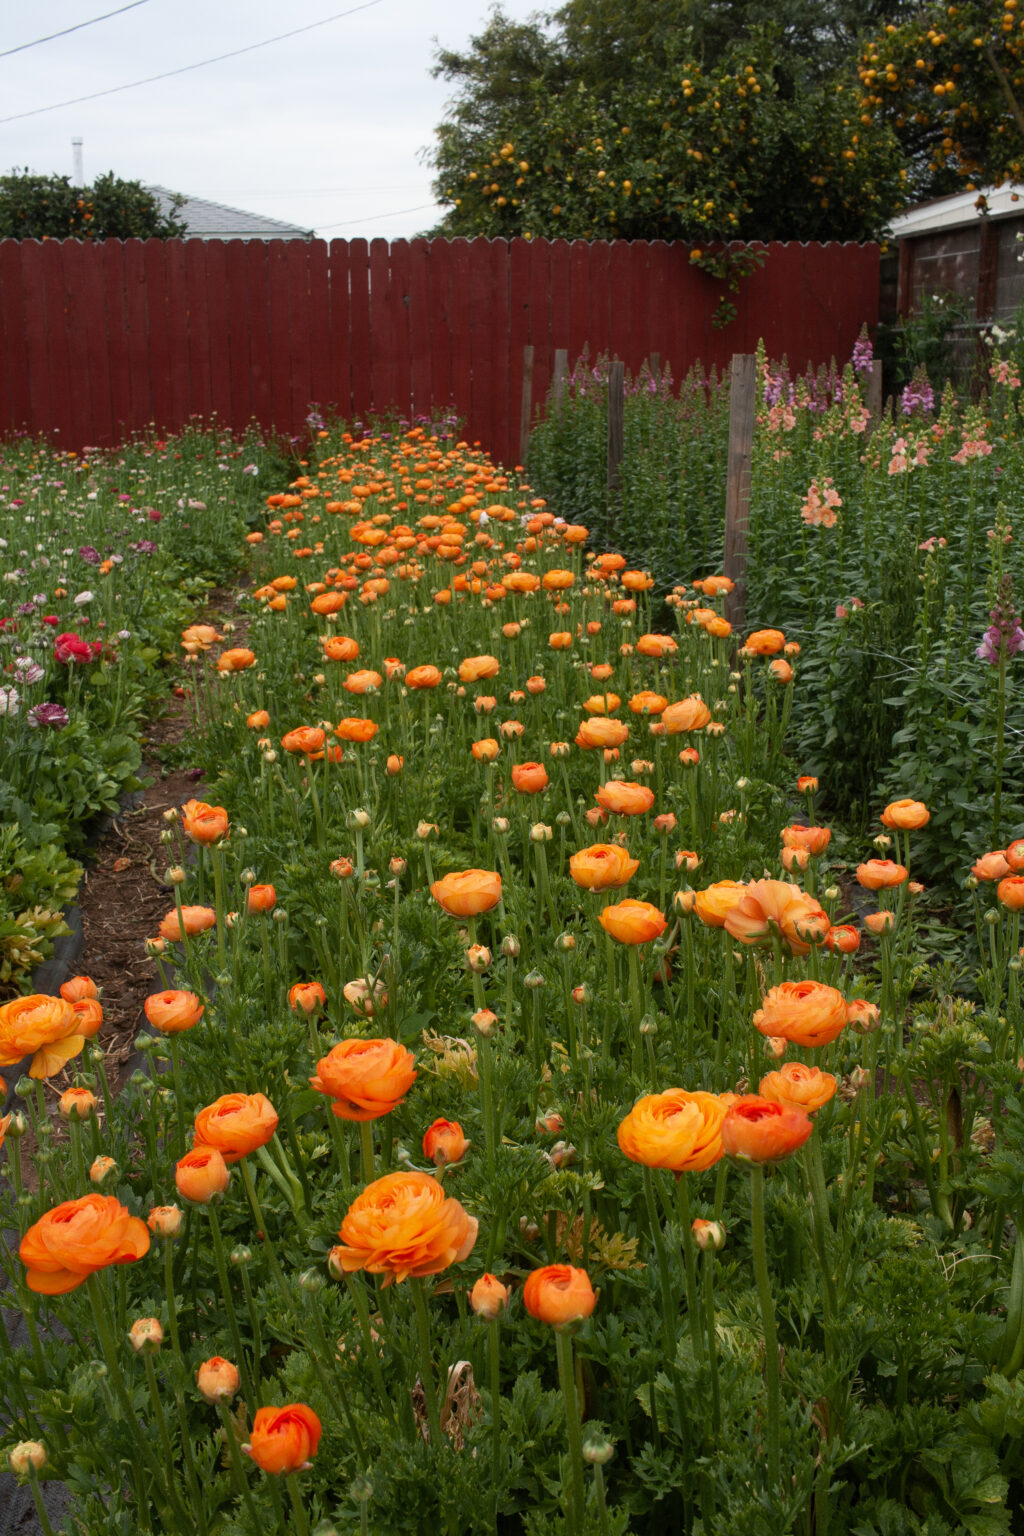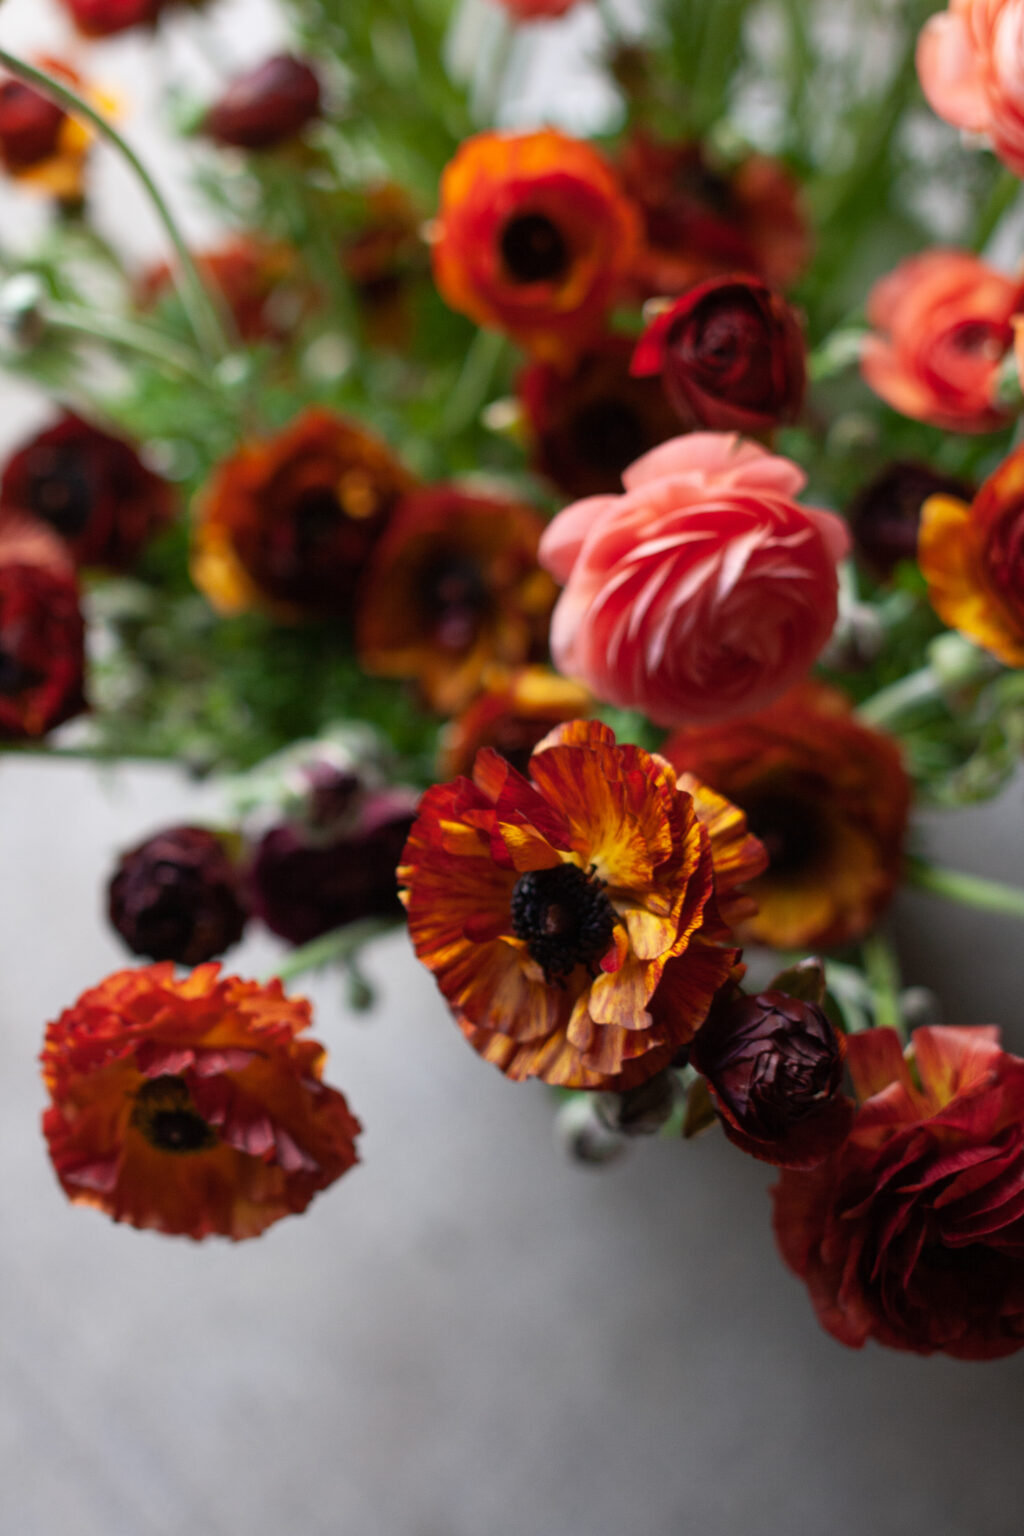
No cut-flower garden is complete without ranunculus flowers. Once blooming, each plant produces a handful of flowers, and your ranunculus bounty will make you feel like the richest gardener in the world. There is no better way to master growing this flower than to get out there, make mistakes, and get your hands dirty!
Ranunculi are cool-season flowers, and in Southern California, it’s essential to start them in the fall. Soak and plant your ranunculus corms in mid-October to early-November, and you’ll have your first blooms appear around Valentine’s Day. If it’s 90 degrees outside, as it can be that time of year, then wait until the weather cools. Remember, these are cool-seeking plants!
Soaking
First, rinse the protective layer of soil off of your corms. Next, soak your ranunculus corms in water in a cool location for 4 hours. I’d suggest doing this in your kitchen. While soaking, turn on the sink whenever you happen to pass by to aerate these living plants. After 4 hours, drain the corms, rinse well with fresh water, and drain again. This removes any pathogenic microbes that could cause the corms to rot. Note how the claws grew in size after soaking!
You can go two different directions from here after soaking:
OR
Option 1: Pre-Sprouting in a Cool, Dark Location
Pre-sprouting isn’t a necessary step, but it allows the gardener to keep the conditions controlled for the ranunculus corms while they germinate, and may produce more consistent final results.
I pre-sprout my soaked corms in peat moss (affordable at Home Depot) before planting into the garden. If you don’t want to purchase peat moss, I have used standard potting soil in the past with few problems.
Add water to the peat moss in a bucket and work the peat moss with your hands until the water is incorporated and the chunks of peat moss are all broken up. You want the peat moss to be moist, but not wet and dripping. Next, choose a container. You can use a milk crate, bulb crate, shallow plastic tray for bottom watering, or anything else you can rescue from the trash that will allow some airflow. If it has holes, line your container with paper. Add a layer of moist peat moss. Layer your corms on top of the moist peat moss, doing your best to prevent them from touching. Finally, layer more moist peat moss on top of the corms, and cover the top with wet paper to retain moisture.
Place your container in a cool, dark location. I’ve successfully pre-sprouted in the closet of our converted garage, under a bed, and also in a dark corner of an air-conditioned room. Check your corms every few days to make sure the growing medium is not too wet or bone dry, and respond appropriately.
Ranunculus corms sprout white rootlets in 7-14 days, at which point they are ready to plant into the garden.
Plant the corms 1-2 inches deep, 8 inches apart in the garden. Octopus-like appendages should be pointing down. Do not plant them too deep! In our dry climate, the soil must be kept moist and claws well watered from the time of planting (this is contradictory to the standard advice). If we have a string of hot days with warm winds, spray down your plants during the heat of the day to cool them. You may also want to hang shade cloth.
One more reminder! Water the soil deeply after planting so the water penetrates several inches. Keep the soil moist until you see ruffled, green leaves emerge, at which point you can water them like any other plant in your garden.
Option 2: Direct-Seeding into the Garden
For a backyard gardener, the simplest way to start ranunculi is to follow the directions on soaking above, and then plant the plumped up corms directly into the garden (versus pre-sprouting). In Southern California, you should wait until the weather and your soil cools before you soak and plant. Late-October through early-November, is usually a good time.
Plant the corms 1-2 inches deep, 8 inches apart in the garden. Octopus-like appendages should be pointing down. Do not plant them too deep! In our dry climate, the soil must be kept moist and claws well watered from the time of planting (this is contradictory to the standard advice). If we have a string of hot days with warm winds, spray down your plants during the heat of the day to cool them. You may also want to hang shade cloth.
One more reminder! Water the soil deeply after planting so the water penetrates several inches. Keep the soil moist until you see ruffled, green leaves emerge, at which point you can water them like any other plant in your garden.
Ongoing Care and Harvest
Ranunculus blooms usually appear in the garden around Valentine’s Day, with flowers coming on like a force just following the holiday. The first blooms will be shorter, but successive stems will be taller. March isn’t ever long enough, and beginning in April these cool-seeking plants meet their swift, bitter end.
Flowers can be harvested at a wide range of stages – from tightly wound buds, to blooms blown completely open. Follow the stem down and harvest the flower at the base of the plant.
Once plants are done blooming, allow them to turn yellow and die back. This takes approximately 6 weeks. Corms can then be pulled and saved to plant next year. Remove all stems and leaves, and store the shriveled up claws in a dry location.
One final note: aphids invariably love ranunculus flowers. If you’re a home gardener and your flowers are covered in aphids, you can still enjoy them inside your home, just use cotton swabs and a shallow basin of water to remove them by hand.
Trust Yourself
Let me know if you have any questions! Good luck out there, and best wishes for an abundance of ranunculus flower bounty come spring!

